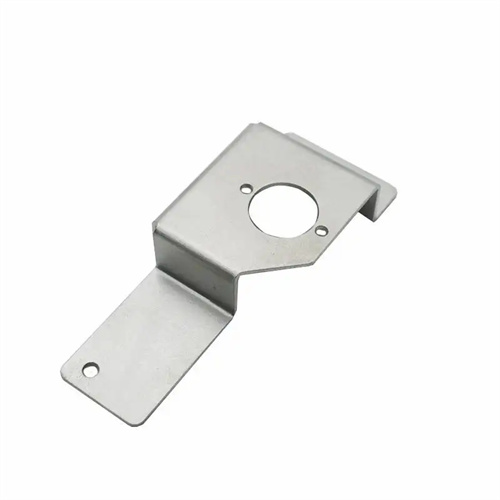
Calculation of blank holding force, drawing force and total drawing process force
The calculation of blank holder force, drawing force, and total drawing process forces is a core component of deep drawing process design, directly impacting part quality, die life, and equipment selection. Blank holder force prevents wrinkling during the drawing process, while drawing force is the primary driver of plastic deformation. Together with other supporting forces, these forces constitute the total drawing process forces. Accurately calculating these forces can prevent workpiece defects (such as wrinkling and cracking) caused by insufficient parameters, or energy waste and die damage caused by excessive parameters, and is a prerequisite for stable deep drawing production.
The blank holder force (BHF) is calculated based on the material thickness, part diameter, and material properties. It balances the radial compressive stress generated during the drawing process and prevents wrinkling at the flange edge. For cylindrical parts, the blank holder force (FHF) is calculated as: FHF = A × q, where A is the projected area of the flange edge (A = π(R² – r²), R is the blank radius, and r is the part radius), and q is the blank holder force per unit area (MPa). The blank holder force per unit area (q) is selected based on the material type: 2-3 MPa for mild steel, 3-5 MPa for stainless steel, and 1.5-2.5 MPa for aluminum alloys. For example, the flange area of a low-carbon steel cylindrical part (blank diameter 100 mm, drawn diameter 50 mm) is A = π[(50)² – (25)²] = π(2500-625) = 1875π ≈ 5890 mm², and the blank holder force F = 5890 × 2 ≈ 11780 N ≈ 11.8 kN. In actual production, a 10%-20% margin of adjustment is required for the blank holder force, which is adjusted by the compression of the air cushion or spring.
The drawing force is the force required to overcome the material’s resistance to plastic deformation and friction during the drawing process. Its magnitude is related to the material’s tensile strength, the dimensions of the drawn part, and the drawing coefficient. The formula for calculating the initial drawing force, Fdraw, for cylindrical parts is: Fdraw = π × d1 × t × σb × K1, where d1 is the diameter after the initial drawing, t is the material thickness, σb is the material’s tensile strength, and K1 is the initial drawing coefficient correction (0.5-0.8). The subsequent drawing force, Fn, = π × dn × t × σb × Kn (Kn is the subsequent drawing correction value, 0.6-0.9). For example, for the initial deep drawing of a low-carbon steel (σb = 450 MPa) cylindrical part, with d1 = 50 mm, t = 2 mm, and K1 = 0.6, F pull = 3.14 × 50 × 2 × 450 × 0.6 = 3.14 × 50 × 2 × 270 = 3.14 × 27000 = 84780 N ≈ 84.8 kN. The drawing force decreases with the number of deep draws because the degree of deformation decreases in subsequent deep draws and the material’s work hardening slightly increases the resistance to plastic deformation, but the overall trend is downward.
The total process force for deep drawing is the sum of the drawing force, blank holder force, and other auxiliary forces. For drawing dies using an air cushion blank holder, the total process force Ftotal = Fdraw + Fpress (because the air cushion force is already included in the blank holder force). For dies using a spring blank holder, the variation in spring force must be taken into account, and the total process force is the sum of the drawing force and the maximum blank holder force. For example, the drawing force for the mild steel cylinder mentioned above is 84.8 kN, and the blank holder force is 11.8 kN. The total process force Ftotal = 84.8 + 11.8 = 96.6 kN. When selecting a press, a safety factor of 1.2-1.5 times is required, or 116-145 kN. Therefore, a 160 kN press is selected. When calculating the total process force, attention should be paid to the timing of their application. The maximum drawing force and blank holder force do not occur simultaneously, so the actual total force may be slightly less than the theoretical total. However, for safety reasons, it is usually calculated as the sum of the two values.
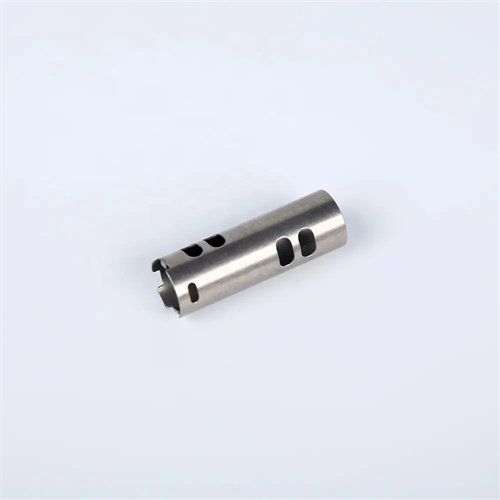
The calculation of blank-holding and drawing forces for non-cylindrical parts (such as rectangular parts) requires consideration of shape. The blank-holding force should be calculated based on the maximum projected area of the flange. The blank-holding force per unit area should be 20%-30% higher than for cylindrical parts to prevent wrinkling at right angles. The formula for calculating the drawing force for rectangular parts is: F pull = K × (2a + 2b – 4r) × t × σb, where a and b are the side lengths of the rectangular part, r is the corner radius, and K is the shape correction factor (1.1-1.3). For example, for a mild steel rectangular part (a=100mm, b=80mm, r=10mm, t=2mm), F pull = 1.2 × (200 + 160 – 40) × 2 × 450 = 1.2 × 320 × 900 = 1.2 × 288000 = 345600N ≈ 345.6kN. The drawing force of non-cylindrical parts is unevenly distributed, so a buffer device needs to be set in the mold design to avoid damage to the mold due to excessive local force.

Adjustments to the blank holder and drawing forces must be verified through die trials. Theoretically calculated values are used as initial parameters, and during trial runs, they are gradually optimized based on workpiece quality. If wrinkling occurs on the flange edge of the workpiece, the blank holder force should be increased (by 5%-10% at a time). If cracking occurs on the sidewall of the workpiece, the blank holder force should be reduced or the drawing speed should be slowed down. For example, a stainless steel cylindrical part exhibited flange wrinkling during die trials. Increasing the blank holder force from 15kN to 18kN eliminated the wrinkling. Another mild steel part exhibited sidewall cracking during deep drawing. Reducing the drawing force from 90kN to 80kN resulted in acceptable forming. For multi-pass drawing, the blank holder and drawing forces for each pass must be calculated to ensure that the deformation for each pass is within the allowable range (drawing coefficient ≥ limit drawing coefficient). The deformation between passes should be appropriately distributed to avoid excessive deformation that could result in workpiece rejection.
