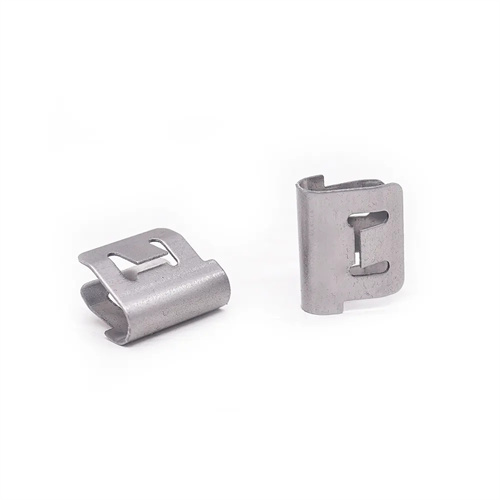
Dimensional difference between the bending convex and concave dies
The dimensional difference between the male and female bending dies is a critical parameter for ensuring the precision of bent parts, directly affecting their dimensional accuracy, shape stability, and die life. This dimensional difference is not a fixed value but is determined by a combination of factors, including the part’s material thickness, required precision, bending method, and springback characteristics. A reasonable dimensional difference ensures sufficient material deformation during the bending process, minimizing springback while also avoiding defects caused by excessive friction or gaps between the die and the workpiece.
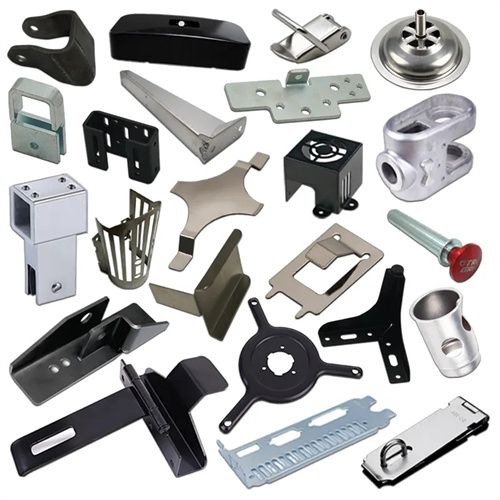
For V-shaped bends, the dimensional difference between the punch and die is primarily reflected in the angle and cutting edge dimensions. The punch angle is typically smaller than the die angle, with the difference equal to the estimated springback angle to offset the elastic recovery after bending. For example, for a workpiece requiring a 90° bend and an estimated springback of 3°, the punch angle is designed to be 87° and the die angle to be 90°, resulting in an angle difference of 3°. Regarding the cutting edge dimensions, the punch width is determined based on the internal dimensions of the part being bent, while the die width is determined by the punch dimensions plus twice the single-edge clearance (i.e., 1-1.1 times the material thickness), resulting in a dimensional difference of 2 × single-edge clearance. For example, for 2mm thick mild steel, with a single-edge clearance of 2mm, the width difference between the punch and die is 4mm, ensuring smooth bending without excessive extrusion.
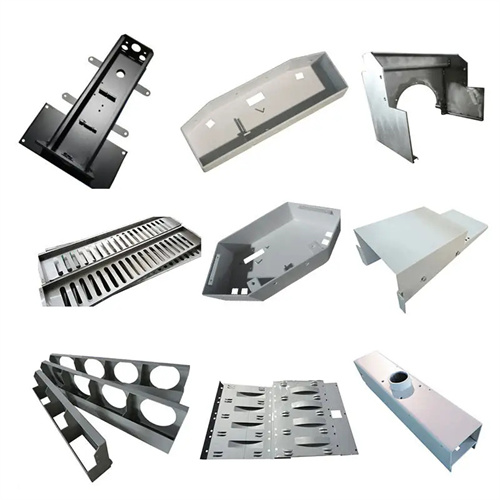
The dimensional difference between the punch and die for U-shaped bends is more complex, involving both the bottom and sidewall dimensions. The bottom dimension difference is typically small, with the punch’s bottom dimension equal to the inner bottom dimension of the bent part, and the die’s bottom dimension slightly larger than the punch’s, with a difference of 0.1-0.2mm to reduce bottom friction. The sidewall dimension difference is similar to that for V-shaped parts. The die’s sidewall dimension equals the punch’s sidewall dimension plus twice the single-side clearance, with a difference of 2 × (1-1.1)t. For example, for a 3mm thick U-shaped part with a single-side clearance of 3.3mm (1.1t), the sidewall dimension difference is 6.6mm. Furthermore, the U-shaped die’s sidewall is typically designed with a 0.5°-2° slope, while the punch’s sidewall is vertical. This angular difference further reduces springback and improves sidewall verticality.
The precision grade of a bent part directly affects the dimensional tolerances between the punch and die. High-precision bent parts (IT8-IT10 grades) require smaller dimensional tolerances to ensure dimensional fluctuations after forming remain within acceptable limits. Low-precision bent parts (IT11-IT13 grades) can have wider dimensional tolerances to reduce mold manufacturing complexity. For example, for IT8-grade U-shaped parts, the dimensional tolerance is controlled within ±0.05mm; for IT12-grade U-shaped parts, the tolerance can be relaxed to ±0.15mm. For bent parts with specific fit requirements, the dimensional tolerance is determined based on the nature of the fit. For parts with a clearance fit, a larger dimensional tolerance is used, while for parts with an interference fit, a smaller dimensional tolerance is used to ensure assembly accuracy.
The material’s springback characteristics are crucial for determining the dimensional difference between the punch and die. Materials with significant springback (such as high-strength steel and stainless steel) require a larger angle compensation in the dimensional difference to offset the increased elastic recovery. For example, the springback angle of mild steel is typically 1°-3°, so the angle difference should be 3°-5°. High-strength steel, on the other hand, can reach 5°-10°, so the angle difference should be 8°-12°. In actual production, the dimensional difference must be adjusted through die trials. Based on the actual springback of the bent part, the punch and die dimensions are modified until they meet the design requirements. For example, after die trials of a stainless steel U-shaped part, springback of 5° was observed. The punch angle was adjusted from 85° to 80° (increasing the angle difference to 10°). After further die trials, the angle met the design requirements.
The dimensional difference between the male and female dies must also take into account mold wear. For bending dies produced in large quantities, a certain amount of wear must be reserved, and the dimensional difference can be appropriately increased by 0.05-0.1mm to extend the mold’s service life. During the mold manufacturing process, precision machining methods such as grinding and wire cutting are used to ensure the accuracy of the dimensional difference. The roughness of the formed surface is controlled to Ra ≤ 0.8μm to reduce the impact of friction on the dimensional difference. In short, the dimensional difference between the male and female bending dies must comprehensively consider factors such as the precision of the bent part, material properties, and production batch size. It should be determined through a combination of theoretical calculation and trial mold verification to ensure the stable quality of the bent part.
