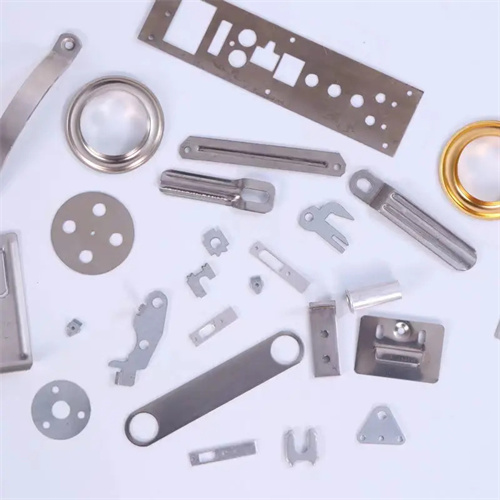
Gap between the bending punch and die
The gap between the punch and die (referred to as the punch-die clearance) is a core parameter in bending die design, directly impacting the dimensional accuracy, surface quality, and die life of the bent part. A reasonable gap ensures smooth material deformation during the bending process, minimizing springback and surface scratches. Excessive or insufficient gaps can lead to forming defects. The punch-die clearance is determined based on a comprehensive calculation of factors such as material thickness, material properties, bending method, and part accuracy. It is typically based on material thickness, combined with a correction factor.
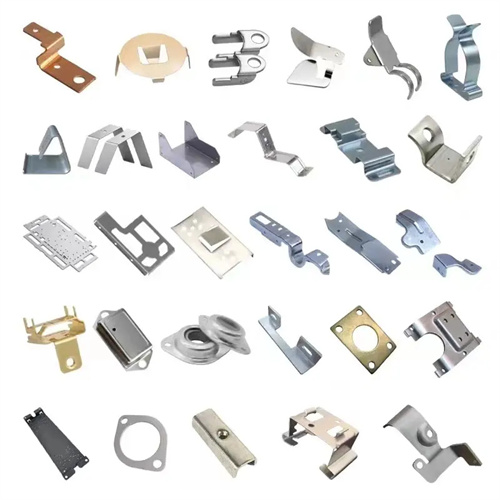
The basic formula for calculating the gap between the punch and die is: Z = t + Δt, where Z is the gap between the two sides, t is the material thickness, and Δt is the gap correction value (typically 0-0.1t). For materials with good plasticity, such as ordinary mild steel, Δt is 0-0.05t, meaning Z = (1-1.05)t; for hard and brittle materials, such as high-strength steel and stainless steel, Δt is 0.05-0.1t, meaning Z = (1.05-1.1)t. For example, when bending 2mm thick mild steel, the gap between the two sides is 2-2.1mm; when bending 2mm thick stainless steel, the gap between the two sides is 2.1-2.2mm. This formula is suitable for the preliminary design of V- and U-shaped bends, ensuring sufficient room for material deformation while avoiding springback caused by excessive gaps.
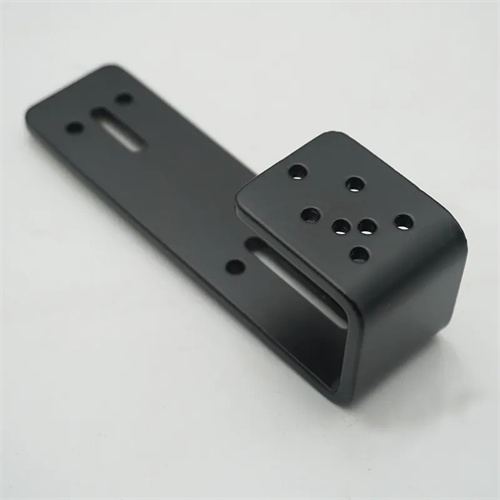
Controlling the gap in a V-bending die is relatively simple, indirectly achieved through the die opening width and punch angle. A separate gap adjustment mechanism is generally not required. The die opening width, Lconcave, = 2rconcave + 2t + (5-10) mm (rconcave is the die corner radius). When the punch reaches its lowest point, a gap naturally forms between the two dies, with a value of approximately (1-1.1)t. For example, for a 3mm thick V-shaped part with a 40mm die opening width and an 87° punch angle (accounting for 3° springback), the actual gap during bending is approximately 3-3.3mm, meeting basic requirements. Gap uniformity in V-bending is primarily achieved by ensuring proper alignment of the punch and die. This alignment error must be ≤0.02mm. Otherwise, the gaps on both sides will be inconsistent, resulting in lateral bending.
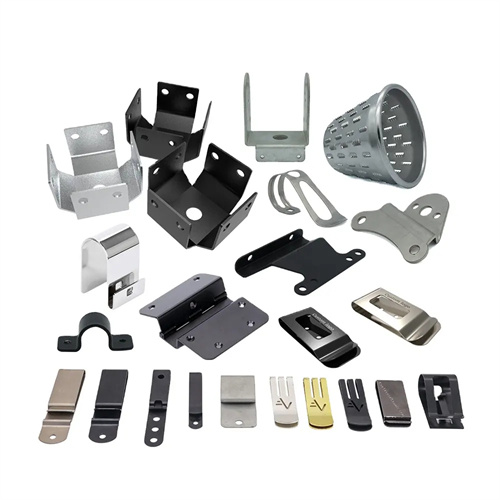
Clearance control in U-shaped bending dies is even more stringent, requiring direct design of the punch and die dimensions. A single-side clearance of c = Z/2 = (0.5-0.55) t is required. To ensure uniform clearance, the die is typically connected to the lower die base using locating pins, while the punch is precisely positioned on the upper die base via a punch retaining plate. The clearance error between the two sides must be ≤0.03mm. For taller U-shaped parts, the die sidewalls should be designed with a 0.5°-1° slope, with the punch maintained vertically, to ensure consistent clearance between the upper and lower ends. For U-shaped parts with flanges, a blank holder should be placed at the flange to control the clearance through pressure and prevent material warping, which would increase the gap. For example, for a 50mm tall U-shaped part, the die sidewalls should be sloped 0.8° and the punch vertically, ensuring a uniform clearance of 1.5mm at both ends (0.5t for a 3mm thickness). After bending, the sidewall verticality error should be ≤0.1mm/100mm.
The gap between the male and female dies has a significant impact on the quality of the bent parts. If the gap is too small, the material will be over-extruded during the bending process, which will cause scratches and thinning (thinning rate exceeds 15%) on the workpiece surface, or even cracks, while increasing the bending force and aggravating the mold wear. For example, when the gap is 0.9t, obvious indentations appear on the surface of the low-carbon steel bent part, and the bending force increases by 20% compared with the gap of 1.0t. When the gap is too large, the material constraint is insufficient, which will lead to increased springback (angle springback increases by 2°-3°) and out-of-tolerance workpiece dimensions. Especially for U-shaped parts, the side walls will flare outward and the bottom will be concave. For example, when the gap is 1.2t, the side wall of the U-shaped part is stretched out by 0.5mm, far exceeding the 0.1mm allowed by the design.
In actual production, the gap between the punch and die is adjusted through trial runs, gradually optimizing based on the quality of the bent part. If surface scratches are detected during trial runs, the gap should be increased by 0.05-0.1mm. If springback exceeds the specified value, the gap should be reduced and the corrective force increased. If the dimensions on both sides are inconsistent, the alignment of the punch and die should be adjusted. For high-volume production dies, gap adjustment mechanisms (such as shims or wedges) can be designed to facilitate subsequent clearance adjustments based on die wear and extend die life. For example, a U-shaped bending die for automotive parts utilizes a shim adjustment mechanism. After every 100,000 units produced, a 0.05mm shim is added to compensate for die wear, ensuring the gap remains within the specified range.
With the application of CAE simulation technology, finite element software (such as Dynaform) can accurately calculate bending deformation under different clearances, predict springback and surface quality, and optimize clearance values. For example, simulations showed that a stainless steel U-shaped part had minimal springback and no surface scratches at a clearance of 1.05t. The mold designed based on this achieved satisfactory results on the first try, reducing commissioning time. In short, determining the gap between male and female dies requires a combination of theoretical calculations, simulation analysis, and trial validation, balancing mold life and production efficiency while ensuring part quality.
