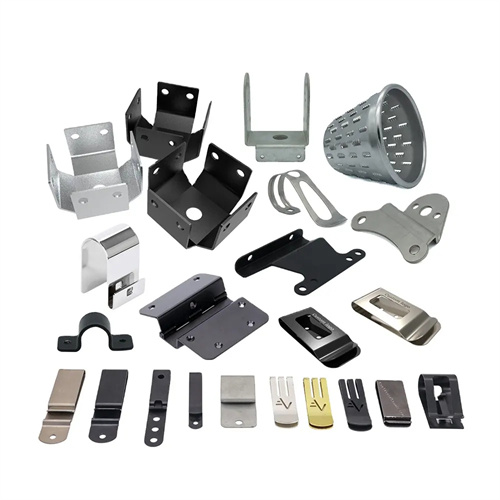
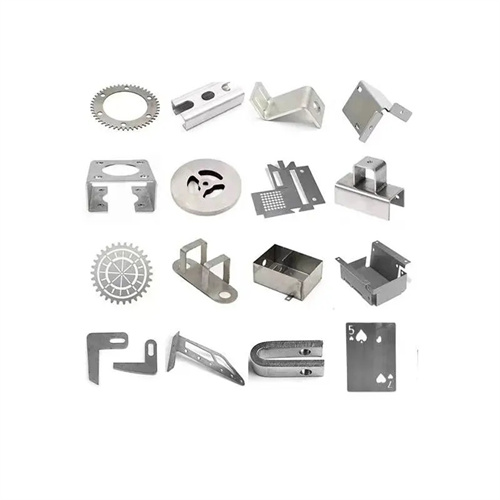
Installation of wedges and sliders
The cam and slider are key components in molds that enable horizontal or tilted motion. They are widely used in complex forming processes such as bending, stamping, and stretching. The quality of their installation directly impacts the mold’s motion accuracy, stability, and service life. The installation process requires strict control of clearance, guide accuracy, and motion flexibility to ensure accurate and reliable coordinated movement between the cam and slider. The installation of the cam and slider typically involves securing the base, assembling the guide, adjusting the cam and slider’s fit, and installing the limiter. Each step must adhere to the requirements of precision assembly.
Preparatory work before installation is the basis for ensuring installation accuracy. The bevel, slider, and related parts must be fully inspected, including the dimensional accuracy, surface roughness, and form and position tolerances of the parts. The bevel angle error of the bevel must be ≤±0.05°, the straightness error of the guide rail surface of the slider must be ≤0.01mm/100mm, and the roughness of the mating surface must be Ra≤0.8μm to avoid movement jamming or excessive clearance after installation due to insufficient part precision. For example, check whether the bevel of the bevel is 30°±0.05°, whether the guide groove width of the slider meets the design value, and whether there are scratches or burrs on the contact surface between the bevel and the slider. Unqualified parts must be ground and repaired until they meet assembly requirements. At the same time, oil and impurities on the surface of the parts must be cleaned to prepare for subsequent installation.
Securing the base is the first step in installing the cam. The cam is typically secured to the upper or lower die base of the mold using bolts and dowel pins. During the mounting process, the verticality and positional accuracy of the cam must be maintained. During installation, the cam is pre-bolted. A dial indicator is used to calibrate the verticality of the cam (to an error of ≤0.02mm/100mm) and the parallelism of the bevel to ensure that the force applied to the cam is consistent with the design. Once the calibration is complete, the bolts are tightened, and dowel pins (usually two) are driven in for precise positioning. The dowel pins and pinholes have a H7/m6 fit, ensuring that the cam does not shift under load. For example, when installing the cam in the lower die base, use a dial indicator to check the verticality of the cam along the bevel. Adjust the cam to an error of ≤0.01mm/100mm before securing it. This ensures that the cam is evenly loaded during operation and prevents localized wear.
The slider’s installation must match the position of the wedge. The slider is connected to the mold base via guide rails or guide posts. The guide rail’s installation accuracy directly affects the slider’s motion accuracy. The guide rail must be parallel to the wedge’s bevel, with a straightness error of ≤0.01mm/100mm. The clearance between the slider and the guide rail must be controlled between 0.01-0.03mm to ensure smooth sliding along the guide rail without binding. During installation, first secure the guide rail to the base. Use a dial indicator to calibrate the rail’s straightness and parallelism with the wedge. Then, install the slider on the rail. Manually push the slider to verify its movement flexibility; the resistance should be uniform and without sudden changes. For example, when installing a slider using a rectangular guide rail, ensure that the clearance between the two sides of the rail and the slider’s guide surface is consistent. Use a feeler gauge to check the clearance error at each point to ≤0.01mm to ensure that the slider does not deviate during movement.
The fit adjustment between the bevel and the slider is the core of the installation process. It is necessary to ensure that the contact surfaces of the two are tightly fitted and the fit clearance is uniform. The contact area between the bevel and the slider must be ≥80%. The contact condition is checked by coloring, and the parts with poor contact are ground until the requirements are met. The fit clearance is achieved by adjusting the gasket or grinding the bevel. For occasions with large force transmission, the clearance is 0.01-0.02mm to ensure effective force transmission; for light-load movement occasions, the clearance can be relaxed to 0.02-0.03mm to reduce friction resistance. For example, if a 0.02mm feeler gauge is placed between the bevel and the slider and can be pulled out smoothly without obvious resistance, it means that the clearance is appropriate. If the feeler gauge cannot be inserted or is too loose, the accuracy of the bevel needs to be readjusted.
The installation of limit devices and elastic reset devices is an important measure to ensure the safe operation of the wedge and slider. Limit devices (such as blocks and limit pins) are used to limit the maximum stroke of the slider to prevent the slider from overtravel and causing damage to the mold. The verticality error of the limit surface should be ≤0.02mm, and the contact area with the slider should be ≥70%. Elastic reset devices (such as springs and nitrogen springs) are used to reset the slider during its return stroke. During installation, the elastic force must be uniform, the reset position must be accurate, and the spring compression must meet the design requirements to avoid insufficient or excessive elastic force. For example, when installing a nitrogen spring as a reset device, the spring pre-compression must be adjusted to ensure that the deviation of the slider from its initial position after return is ≤0.05mm. At the same time, check whether the reset force meets the design value (usually 1.5-2 times the weight of the slider).
After installation, commissioning must be performed on the press. A trial mold is used to verify the smooth movement of the cam and slider, accurate travel, and uniform force distribution. During the trial mold, observe whether the slider’s trajectory meets design requirements and detect any unusual noise or vibration. Use a dial indicator to check the slider’s displacement accuracy (error ≤ 0.03mm). If any binding is detected, check the clearance and guide rail accuracy. If the travel is insufficient, adjust the limiters. If the force distribution is uneven, regrind the contact surface between the cam and slider. Repeated commissioning is performed until the cam and slider are accurately and reliably moving, meeting the mold’s operating requirements. Finally, re-tighten all fasteners to complete the installation.