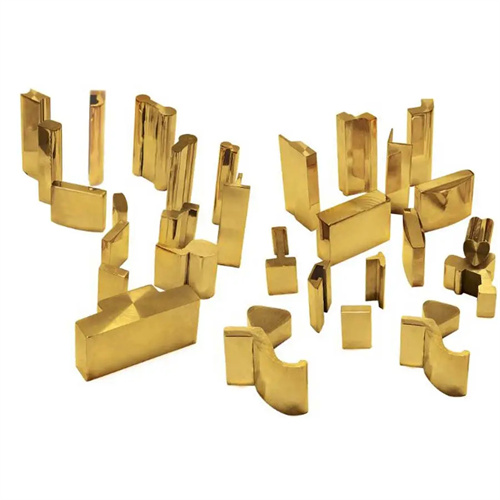
Multi-station continuous drawing process calculation and layout design
Multi-station continuous drawing process calculation and layout design are key technologies for the efficient production of deep cylindrical and special-shaped parts. Process calculation requires determining the number of draws, the dimensions of each draw, and process parameters, while layout design involves rationally arranging the positions of the drawing stations in relation to other processes. These two work together to ensure forming quality and production efficiency. The biggest difference between continuous drawing and single-stage drawing lies in the continuity and interconnectedness of the processes. Accurate calculation and optimized layout are required to achieve a uniform transition of deformation at each station.
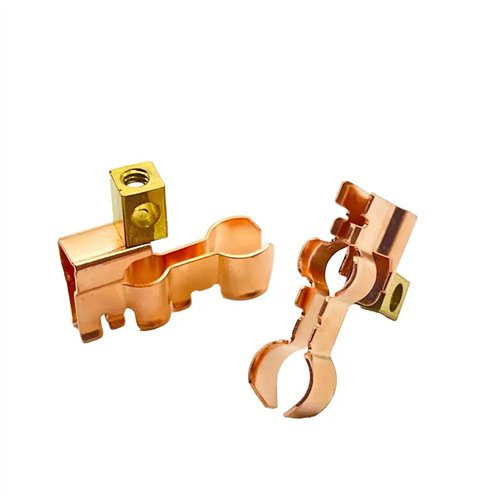
The core of multi-station continuous drawing process calculations is determining the number of draw cycles, which must be determined based on the part’s total drawing coefficient, the material’s limit drawing coefficient, and the number of stations. The total drawing coefficient mtotal = finished product diameter d / blank diameter D. If mtotal is less than the material’s first limit drawing coefficient (e.g., m1 = 0.5-0.55 for mild steel), multiple draw cycles are required. Each drawing coefficient is assigned a decreasing value, and each drawing coefficient mi must exceed the corresponding limit value (m2 = 0.7-0.75, m3 = 0.75-0.8). For example, a part with a total drawing coefficient of 0.3 requires four draw cycles, with the coefficients for each cycle being 0.5, 0.65, 0.7, and 0.87 (0.5 × 0.65 × 0.7 × 0.87 = 0.3). The number of deep drawing operations must also take into account the workstation limitations. If the maximum number of workstations in the mold is 8, the number of deep drawing operations must be controlled within 6, and 2 workstations must be reserved for punching and separation.
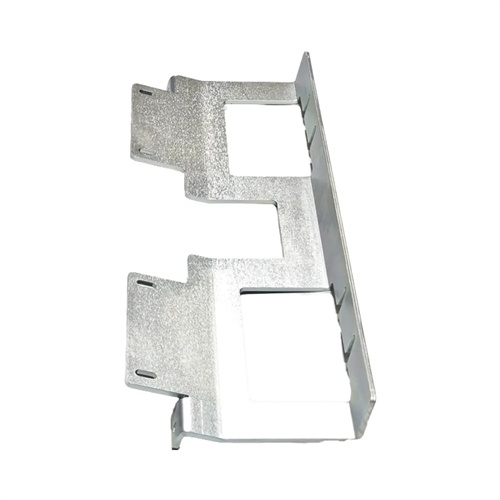
Dimensional calculations for each drawing pass, including diameter, height, fillet radius, and flange size, must adhere to the principles of volume invariance and uniform deformation. The initial drawing diameter is d1 = m1 × D, and the height h1 = (D² – d1²)/(4d1) – 0.5 (r1 concave + r1 convex), where r1 concave = 10-15t ( t is the material thickness) and r1 convex = 0.7-1 × r1 concave. The diameter of each subsequent drawing pass is dn = mn × dn-1, and the height hn = (D² – dn²)/(4dn) – 0.5 (rn concave + rn convex). The fillet radius is gradually reduced, with the final drawing approaching the final fillet radius (r concave = 1-2t, r convex = 0.5-1t). For parts with flanges, the flange diameter should be controlled. The initial drawn flange diameter (d1) should be slightly larger than the finished diameter (allowing a 5%-10% margin for shaping). During subsequent drawing, the flange diameter should be maintained constant or gradually reduced to avoid flange wrinkling. For example, for a part with a finished flange diameter of 100mm, the initial drawn flange diameter should be 105mm, and the final shaping process should bring it to the designed dimensions.
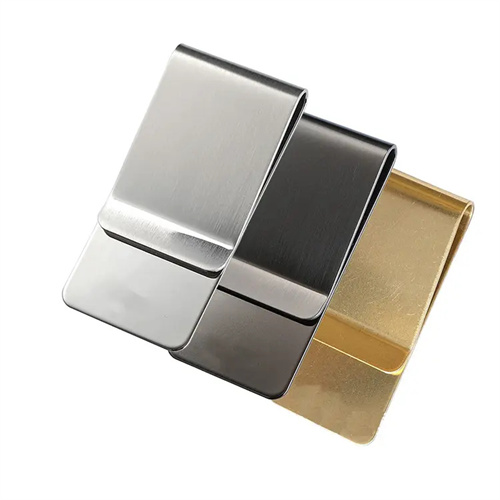
Calculating the drawing force and blank holder force is a crucial component of process calculations, ensuring that the equipment and mold can withstand the corresponding loads. Drawing force F = π × dn × t × σb × K, where σb is the material tensile strength and K is a correction factor (K = 0.5-0.8 for the first drawing, 0.8-1.0 for subsequent drawing). Blank holder force F = A × q, where A is the flange area (A = π × (d flange² – dn²)/4) and q is the unit blank holder force (q = 2-3 MPa for mild steel and 4-6 MPa for stainless steel). During multi-station continuous drawing, the blank holder force must be adjusted incrementally, starting with a higher value for the first drawing (to prevent wrinkling) and gradually decreasing for subsequent drawing stages (to avoid cracking caused by excessive blank holding). For example, for a mild steel part, the blank holder force for the first drawing stage is 3 MPa, 2.5 MPa for the second, and 2 MPa for the third and subsequent stages to ensure uniform material flow.
The layout design for multi-station continuous drawing requires a rational arrangement of the drawing stations and other processes, adhering to the principles of “punching first, then drawing; shallow drawing first, then deep drawing; and separation of drawing and shaping.” Punching (especially the bottom hole) should be performed before drawing to avoid deformation caused by punching after drawing. If punching is required after drawing, a leveling station should be installed to eliminate deformation around the hole. Empty stations (one or two stations apart) should be placed between drawing stations to minimize stress interactions between adjacent drawing processes. For example, large drawn parts should be separated by two empty stations to prevent bending of the strip due to residual stress. An example layout sequence: punching → first drawing → empty station → second drawing → empty station → third drawing → shaping → separation. The spacing between stations is equal to the feed distance, with an accuracy of ±0.01mm.
Key parameters in layout design include the overlap, pitch, and carrier type, which must be compatible with the drawing process. The overlap width should be 20%-30% larger than that of conventional blanking to prevent tearing during drawing. For example, for a 2mm thick mild steel part, the overlap should be 3-4mm. The pitch is equal to the sum of the maximum diameter of the drawn part and twice the overlap to ensure sufficient space in the drawing area. For example, for a 50mm diameter part, the pitch is 50 + 2 × 3 = 56mm. A trim carrier is preferred for enhanced feeding stability. For large drawn parts, a mixed carrier (trimmed material + intermediate connecting ribs) is required to prevent the strip from shifting during the drawing process. Scrap removal must also be considered in layout design. Dedicated discharge channels should be provided for flange excess and trimming waste after drawing to prevent accumulation in the mold and impacting production.
Optimizing the layout for continuous deep drawing requires dynamic simulation and test punching validation. Software such as AutoForm is used to simulate material flow, stress distribution, and thickness variations at each workstation, predicting potential defects (such as wrinkling, cracking, and springback). Based on these simulation results, layout parameters are adjusted, such as adding transition drawing stations, adjusting the blank holder force, or modifying corner radius, until the optimal solution is achieved. During test punching, the dimensions and wall thickness after each drawing pass are measured. If uneven wall thickness is observed (reduction rate > 20%), the drawing coefficient at the corresponding workstation is reduced. If flange wrinkling occurs, the blank holder force is increased or the number of draw cycles is increased. By collaboratively optimizing process calculations and layout design, stable multi-station continuous deep drawing production can be achieved, ensuring part quality and production efficiency.
