Stamping die assembly process
The stamping die assembly process involves assembling die components into a complete die according to design requirements. It is a critical step in the die manufacturing process, directly impacting the die’s performance, service life, and the quality of the stamped parts. The stamping die assembly process must adhere to certain principles and procedures, employing appropriate assembly methods and tools to ensure die assembly accuracy and operational reliability.
Preparation for stamping die assembly is fundamental to ensuring assembly quality and includes parts cleaning, inspection, and matching. Part cleaning removes impurities such as oil, iron filings, and scale from the part surface to prevent them from affecting the fit and assembly quality. Cleaning methods vary depending on the part material and surface roughness requirements; common methods include manual cleaning, mechanical cleaning, and ultrasonic cleaning. Part inspection ensures that technical specifications such as dimensional accuracy, form and position tolerances, and surface roughness meet design requirements. Unqualified parts require repair or replacement. Inspection tools include vernier calipers, micrometers, dial indicators, projectors, and coordinate measuring machines. Part matching involves grouping and matching parts based on their actual dimensions to ensure a precise fit. For example, guide pins and guide bushings typically utilize a clearance fit, requiring matching based on their actual dimensions to ensure the clearance is within the designed range.
The core of stamping die assembly is ensuring a uniform gap between the punch and die; this is crucial for ensuring the quality of stamped parts. A gap that is too large or too small will affect the quality of the stamped part. A gap that is too large will produce large burrs, while a gap that is too small will increase mold wear and even damage the mold. Therefore, appropriate methods are needed to adjust the gap between the punch and die during assembly. Common adjustment methods include shim adjustment, process locator method, copper plating, and coating. The shim adjustment method inserts a shim of a certain thickness between the punch and die. The thickness of the shim is adjusted to ensure a uniform gap. This method is simple and suitable for small and medium-sized molds. The process locator method uses a process locator similar in shape to the stamped part, places it between the punch and die, and adjusts the position of the process locator to ensure a uniform gap. This method is suitable for molds with complex shapes.
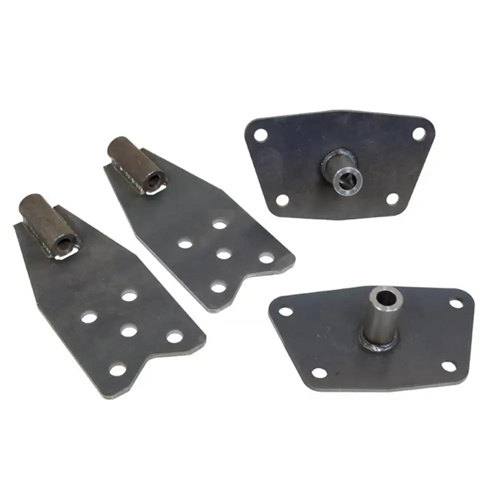
The assembly of the mold’s guiding mechanism is crucial for ensuring mold motion accuracy. The guiding mechanism, consisting of guide pins, guide bushings, and guide plates, guides the punch and die in the correct relative position during the stamping process, preventing mold deflection and binding. The guide mechanism must be assembled to ensure uniform clearances between the guide pins and guide bushings, with their axes perpendicular to the mold’s datum plane and the guide plates parallel to the same. The guide pins and guide bushings typically use a clearance fit, with the size of the clearance determined by the mold’s precision requirements and generally ranging from 0.01 to 0.03 mm. During assembly, the guide pins are first pressed into the guide pin holes in the lower die base, then the guide bushings are pressed into the guide bushing holes in the upper die base. The positions of the guide pins and guide bushings are then adjusted to ensure uniform clearances. The guide plates must be parallel to the mold’s datum plane, with a parallelism error generally not exceeding 0.02 mm/m, to ensure accurate guidance.
The assembly of the die’s discharger and ejector devices is crucial for ensuring a smooth stamping process. The discharger removes the stamped part or scrap from the punch after stamping, while the ejector ejects the stamped part from the die. Assembly of the discharger and ejector devices must ensure flexible and reliable operation, with uniform discharge and ejection forces. The discharger includes a discharge plate, discharge screws, and springs. During assembly, a uniform gap must be maintained between the discharge plate and the punch, typically between 0.05 and 0.1 mm, to prevent friction and interference between the discharge plate and the punch. The spring force must be selected based on the discharge force to ensure sufficient discharge force. The ejector includes a ejector pin, ejector plate, and spring. During assembly, a secure connection between the ejector pin and ejector plate and a uniform gap between the ejector plate and the die must be ensured to ensure smooth ejection.
After mold assembly is complete, mold trials and adjustments are necessary. This is a crucial step in verifying mold assembly quality and performance. Trials need to be conducted under the same conditions as production, using the same materials and equipment as in production, and performing stamping according to normal stamping process parameters. During the trial, the mold’s operating state must be observed, and the quality of the stamped parts, such as dimensional accuracy, shape accuracy, and surface quality, must be checked. The mold’s movement must also be flexible and reliable, and any abnormal sounds or vibrations must be checked. If any problems are found, adjustments and repairs must be made promptly. For example, if a stamped part exhibits excessive burrs, it could be because the gap between the punch and die is too large, requiring readjustment. If the mold is not flexible, it could be because the guide mechanism’s clearance is too small or there is foreign matter, requiring cleaning and adjustment. Only after the trial is qualified can the mold be put into production.