Die-guided die design
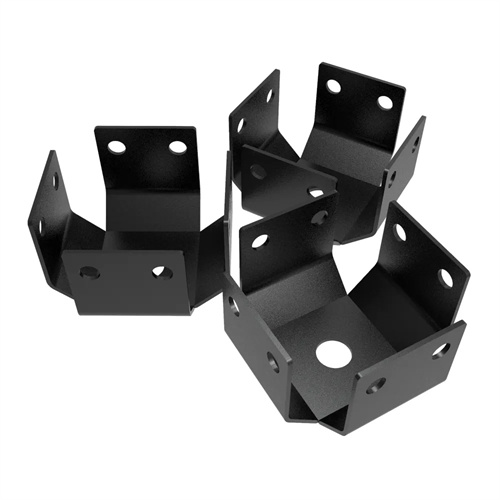
Die-frame-guided die design is a core technology for ensuring high-precision and stable operation of stamping dies. It is widely used in the production of small and medium-sized blanking parts in fields such as precision electronics and aerospace. By optimizing the precision of the die frame and guide mechanism, the gap between the punch and die can be controlled to within 0.005mm, and the dimensional tolerance of blanking parts can be maintained at IT7-IT8 levels. As the basic framework of the die, the die frame must possess sufficient rigidity (deflection <0.01mm/100mm) and deformation resistance. It is typically constructed of welded HT300 cast iron or Q235 steel plates. For large dies (length and width >1000mm), reinforcing ribs (15-20mm thick) are required to enhance overall rigidity. During the initial design phase, the die frame thickness should be determined based on the punching force (50-500kN). The upper die base is generally 1.2-1.5 times the thickness of the die, and the lower die base is 1.5-2 times the thickness of the punch fixing plate to ensure uniform force distribution.
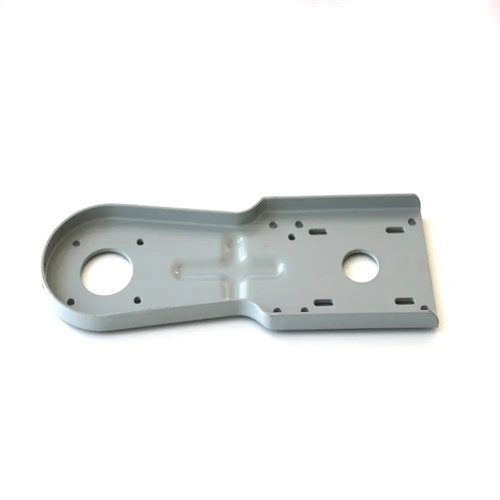
The guide mechanism is the core of the die-based die guide and is divided into two types: sliding guides and rolling guides. The sliding guide utilizes cast iron guide pins and copper alloy guide bushings (ZCuSn10Pb1), with a clearance of 0.01-0.03mm. It is suitable for punching speeds less than 30 strokes/minute. The guide pin diameter is selected based on the die closing height (25-30mm for closing heights below 300mm). The surface is chrome-plated (0.01mm thick) for enhanced wear resistance. The rolling guide utilizes ball guide pins and bushings with a clearance of 0.001-0.005mm. The guide pins are made of SUJ2 bearing steel (HRC 60-62 hardness) and are suitable for high-speed punching (>100 strokes/minute). The point contact of the steel balls reduces the friction coefficient to below 0.001, ensuring long-term stable guiding accuracy. The guide mechanism layout must adhere to the principle of symmetry. Large molds use a four-pin layout, while small and medium-sized molds use diagonal two-pin layout. The center-to-center distance error of the guide pins is less than 0.02mm.
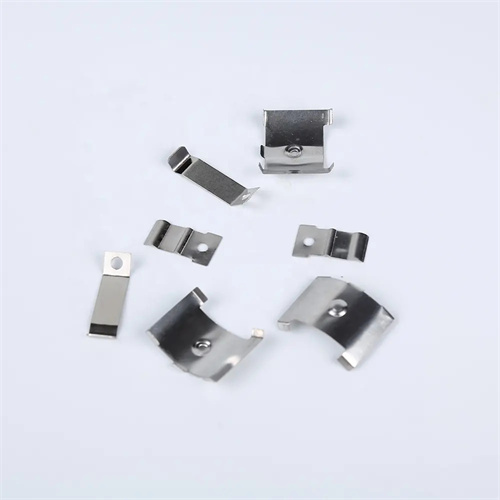
The connection structure between the mold base and mold components must balance precision and ease of assembly and disassembly. The die is positioned with the lower die base using locating pins (H7/H6 fit) and secured with hexagon socket head bolts (grade 8.8). Bolt spacing is ≤150mm, ensuring die flatness <0.01mm/100mm. The punch fixing plate is connected to the upper die base in the same manner. For slender punches (aspect ratio >5), a stripper guide (with a clearance of 0.01-0.02mm) is required to prevent bending during stamping. The mold base’s reference surfaces (the lower surface of the upper die base and the upper surface of the lower die base) are super-precision ground to a flatness tolerance of <0.005mm/100mm and a parallelism tolerance of <0.01mm/300mm), providing a uniform assembly reference for mold components.
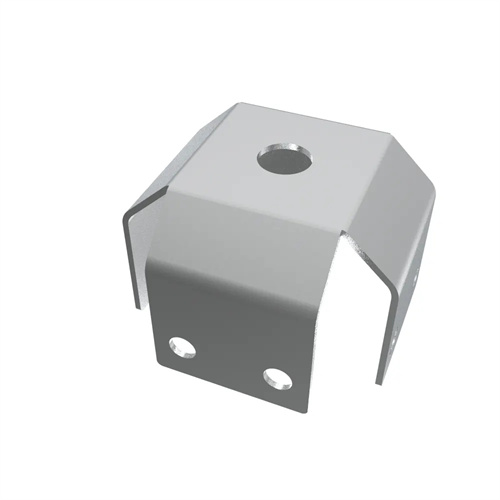
The guide precision compensation and adjustment mechanism addresses wear and tear after long-term use. Fine-tuning shims (thickness 0.01-0.1mm) are installed at the bottom of the guide post. When the guide clearance exceeds 0.01mm, the guide post height can be adjusted by adding or removing shims to restore the fit. The rolling guide mechanism can be equipped with interchangeable steel balls of varying diameters (with a tolerance of ±0.001mm) to compensate for guide sleeve wear. Reference marks (centerline and reference hole) are required on the side of the mold frame to facilitate alignment when installing the mold into the press. The positioning error between the reference hole and the T-slot of the press table must be less than 0.05mm.
Maintenance and inspection systems must be standardized. During daily use, guide pins and bushings must be cleaned of iron filings and re-lubricated with lithium-based grease (NLGI Grade 2) every eight hours. Guide clearances must be checked weekly. Sliding guides exceeding 0.03mm and rolling guides exceeding 0.008mm require repair. Coordinate measuring machines should be used regularly to inspect the form and position errors of the mold base’s datum surface. A comprehensive precision calibration should be performed annually, and guide pins and bushings exhibiting excessive wear should be replaced. During storage, mold bases must be stored horizontally, and guide pins and bushings must be coated with anti-rust oil to prevent deformation under prolonged stress. Precision rolling guide mold bases must be individually packaged to prevent damage from impact.
