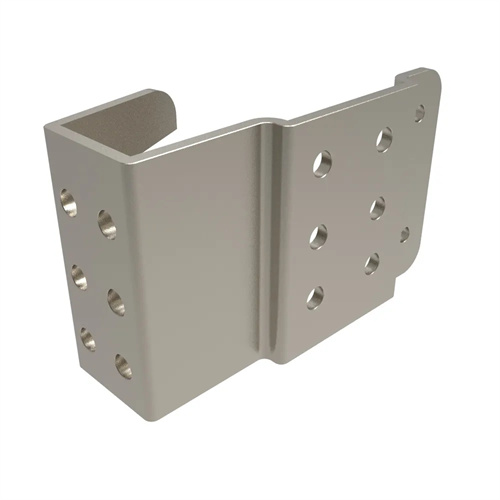
Design of the progressive die for punching and drawing of the inner gear housing
The design of a progressive die for punching and drawing internal gear ring housings is a multi-station continuous forming technology developed for cylindrical housings with internal gearing, such as planetary gear reducer housings. These parts typically feature internal teeth (module 1-3mm), a cylindrical wall (thickness 2-5mm), and a bottom flange. Blanking, multiple drawing steps, and shaping are completed within a single die. Production efficiency can reach 60-100 pieces per minute, with internal gear accuracy reaching GB/T 10095.2 Grade 7. The core challenge of the progressive die lies in balancing the deformation rhythm of punching and drawing to avoid material flow interference during internal gear forming. Initial design stages require CAE simulation (e.g., using Deform software) to analyze the strain distribution at each station to ensure that the maximum strain does not exceed 80% of the material’s yield point (≤240 MPa for mild steel).
The mold structure utilizes a horizontally arranged multi-station layout, typically consisting of 6-8 stations: Station 1 performs blanking and pre-punching, stations 2-4 perform three-stage deep drawing (with drawing coefficients ranging from 0.65 to 0.7 to 0.75), station 5 shapes the barrel wall, station 6 preforms the internal gears, station 7 fine-tunes the internal gears, and station 8 separates the blanks. Key mold components are constructed from high-performance materials: the blanking punch is constructed from ASP-60 powder high-speed steel (hardness HRC62-64), the drawing die is constructed from cemented carbide (90% WC-Co, hardness HRA90), and the internal gear forming punch is electrospark machined. The tooth profile accuracy is ±0.01mm, and the surface roughness is Ra below 0.1μm. The spacing between stations is designed to be 1.2 times the maximum part diameter (96mm for an 80mm diameter) to ensure smooth material feeding.
The internal gear forming mechanism is the core of the technology. It adopts the principle of radial bulging. At the 6th station, 12-16 tooth modules are pushed radially by a wedge-shaped slider to pre-form the internal teeth (the teeth are up to 80% of the design value). At the 7th station, the rigid gear ring die is used for finishing to ensure the integrity of the tooth shape. The bulging force is provided by a nitrogen spring (5-8kN per slider), and the synchronization error is less than 0.01mm to prevent uneven tooth thickness. The blank holding force of the drawing station increases according to the station. The blank holding force for the first drawing is 20% of the drawing force (about 15kN), and the final drawing increases to 30% (25kN). Real-time adjustment is achieved through the closed-loop force control of the servo press to suppress wrinkling of the barrel wall.
The feeding and positioning system utilizes a “servo feeding + multiple guide pins” combination. After leveling, the coil is fed by a high-precision feeder (positioning accuracy ±0.01mm). A set of guide pins (aligned with process holes H7/g6) is installed every two stations. An internal guide sleeve is added after the fifth station to mate with the formed cylinder wall (clearance 0.02-0.03mm), keeping cumulative positioning error within 0.03mm. For flanged internal gear housings, a flange forming area is installed in the drawing station, where an adjustable blank holder controls flange thickness (tolerance ±0.05mm) to ensure a smooth surface during subsequent assembly.
A full-process inspection system was established for commissioning and quality control. During mold trials, laser scanning was used to measure the tooth profile parameters at each station . The bulging slide stroke was optimized (adjustment within ±0.02mm) by comparing it to the design value. For every 1,000 pieces produced, three pieces were sampled for internal tooth normal length measurement (tolerance ±0.02mm) and barrel wall perpendicularity inspection (error <0.05mm/m). Any deviations were corrected by fine-tuning the finishing die position at the seventh station. Regarding maintenance, the internal tooth forming module requires tooth polishing every 5,000 pieces, and the punch is inspected for edge wear every 10,000 pieces (allowance <0.02mm). The feed mechanism is calibrated weekly for step accuracy to ensure long-term production stability. The mold is equipped with an intelligent monitoring system that monitors the forming force and temperature at each station in real time, automatically shutting down the machine and alarming in the event of an abnormality, thereby reducing scrap.
