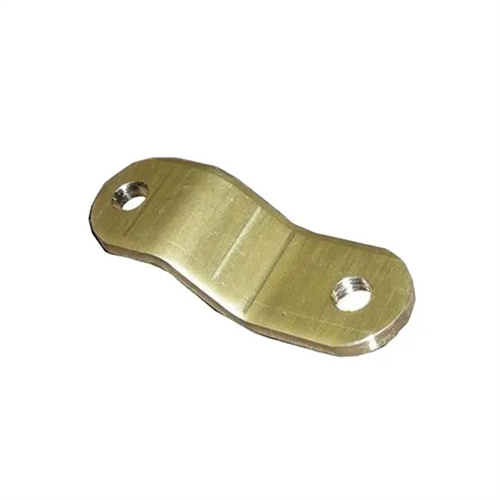
Design of undulating forming die
Convex forming die design uses localized stretching to create convex and concave shapes (such as ribs, bosses, and grooves) in sheet metal. Widely used in automotive panels and mechanical structural components, it enhances part rigidity (increasing bending strength by 30%-50%) without increasing material thickness. It is suitable for steel and aluminum alloys with thicknesses ranging from 0.5 to 4 mm. Convex forming depth typically ranges from 5 to 30 mm, achieving a surface roughness of Ra1.6 to Ra3.2 μm. Initially, the forming force must be calculated based on the contour. The forming force formula for a circular boss is F = πd t σb (where d is the boss diameter, t is the thickness, and σb is the tensile strength). For example, for a φ50 mm, 3 mm thick Q235 steel boss, the forming force is approximately 60 to 80 kN.
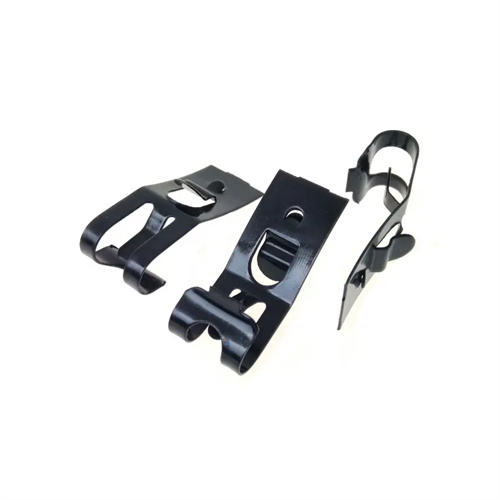
The mold structure consists of a punch, a die, a pressure plate, and an ejector. The punch is designed to fit the contour (circular, rectangular, or irregular) and is made of Cr12MoV steel, hardened to HRC58-62. The working surface is polished to Ra0.4μm. The corner radius is 2-5 times the material thickness (6-15mm for a 3mm thickness) to prevent cracking during forming. The gap between the die and the punch is 1.1-1.2 times the material thickness (3.3-3.6mm for a 3mm thickness) to ensure smooth material flow. The die adopts a split structure to facilitate the adjustment of different cavity shapes. The material is Cr12 steel (HRC55-58), and a vent hole (φ1-φ2mm) is provided at the bottom to prevent bubbles during forming.
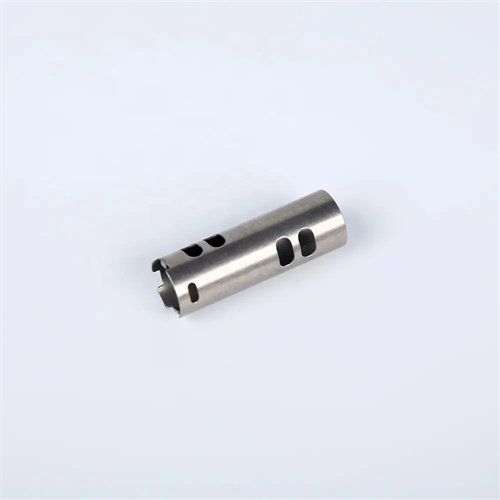
The hold-down mechanism is crucial for preventing wrinkles. It utilizes a hydraulic or nitrogen spring to provide a hold-down force of 30% to 50% of the forming force (60kN forming force corresponds to 18-30kN hold-down force). The parallelism error between the hold-down plate and the die is maintained within 0.05mm/m, ensuring uniform hold-down force across all sections of the material. For large panels (>1000mm), the hold-down plate requires a zoned design, allowing independent adjustment of the hold-down force in each zone to meet the forming requirements of different parts. A 0.5-1mm thick rubber pad is applied to the hold-down plate to prevent scratches on the workpiece surface.
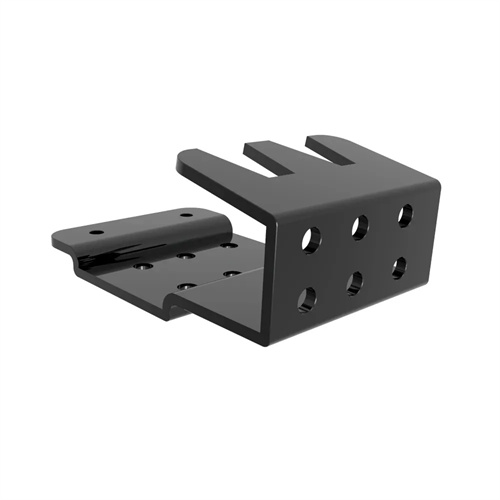
The process parameters for corrugated forming must be optimized based on material properties. The drawing speed should be controlled between 30 and 80 mm/s, with aluminum alloys at the upper limit and high-strength steels at the lower limit. For corrugations greater than 20 mm in depth, a stepped forming process is employed, with the first forming step reaching 70% to 80% of the depth and the second forming step reaching the final dimension. Annealing (aluminum alloys at 120-180°C for 1 hour) can be performed in between to eliminate work hardening. A specialized drawing oil (viscosity 20-40 cSt) should be used as a lubricant to form a uniform oil film (5-10 μm thick) on the blank surface, reducing the friction coefficient to below 0.1.
The positioning and guiding system ensures accurate forming position. Positioning is achieved using a combination of locating pins and retaining plates. The clearance between the locating pins and prefabricated holes is 0.05-0.1mm. The retaining plates control the longitudinal dimension (with an accuracy of ±0.1mm). For large parts, multiple positioning points (one every 500mm) are required to ensure overall positioning accuracy. The guiding mechanism utilizes guide pins and sleeves (diameters 25-50mm) with a clearance of 0.01-0.03mm, ensuring the centering error between the punch and die is less than 0.03mm.
During commissioning and quality control, focus on form accuracy. During mold trials, use a coordinate measuring machine to check the dimensions of the contoured shapes (for example, boss height deviation must be less than 0.2mm). If wrinkling occurs, increase the pressing force or reduce the forming speed. If cracking occurs, increase the punch radius or reduce the material strength (for example, soft annealing high-strength steel). After every 3,000 pieces, inspect the punch surface for wear and polish with fine sandpaper (400# grit) if scratches are present. Regularly clean the die vents to prevent surface defects caused by clogging. During mold maintenance, check the force stability of the pressing mechanism monthly. The hydraulic system’s oil contamination level must be controlled within NAS level 8 to ensure accurate pressing force.
