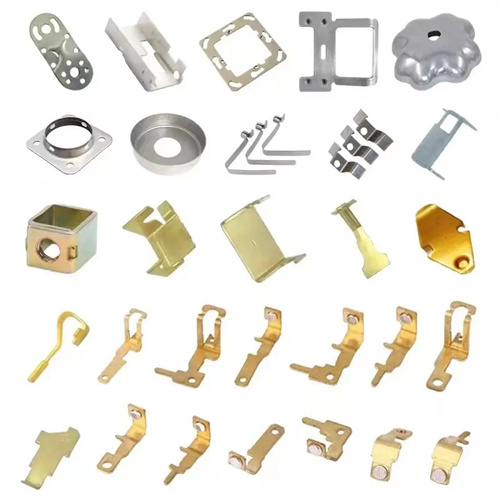
Design of compound dies for blanking, drawing, punching and flanging
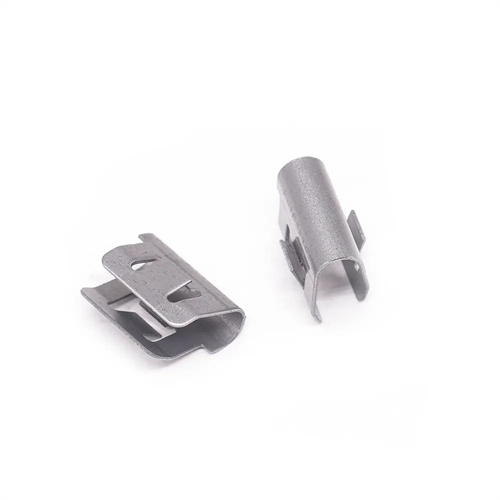
The design of a composite die for blanking, drawing, punching, and flanging is a highly efficient, multi-process integrated die technology suitable for complex small and medium-sized parts, such as cup-shaped parts with holes and flanging. It can complete the four steps of blanking, drawing, punching, and flanging in a single stamping stroke, significantly improving production efficiency. Part dimensional accuracy can reach IT9, making it suitable for mass production. Initially, the die layout is determined based on the final part dimensions, material thickness (typically 0.5-3mm), and the sequence of each process. Generally, the die layout follows the order of blanking, drawing, punching, and flanging to ensure smooth transitions between processes. For example, a part with a diameter of 50mm and a height of 30mm, a φ10mm hole, and a 5mm edge flanging requires first blanking to obtain a blank of the appropriate diameter, then deep drawing to form the cup body, followed by punching the bottom hole, and finally, flanging the edges.
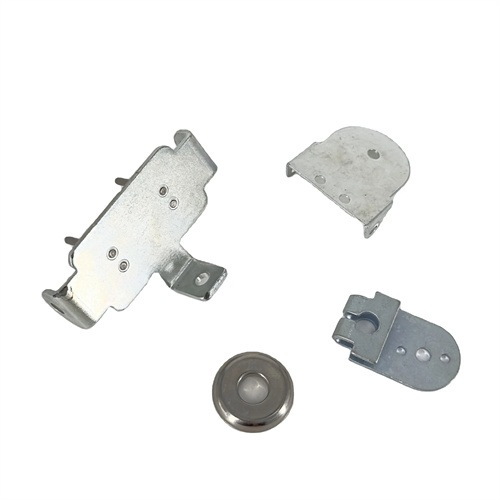
The die structure consists of a blanking punch and die, a drawing punch, a punching punch, a flanging die, a blank holder, a discharge device, and a guide mechanism. The blanking punch and die are made of Cr12MoV alloy tool steel, hardened to HRC 58-62. The blanking cutting edges are sharp, and the clearance between them and the die is 8%-12% of the material thickness to ensure a burr-free edge. The corner radius of the drawing punch is 5-8 times the material thickness. For a 1mm thick material, the radius is set at 5-8mm to prevent cracking during drawing. The punching punch is made of W18Cr4V high-speed steel, hardened to HRC 62-65, and the clearance between them and the die is controlled at 0.01-0.03mm to ensure punching accuracy. The corner radius of the flanging die is 1-2 times the material thickness to guide the material smoothly and prevent wrinkles.
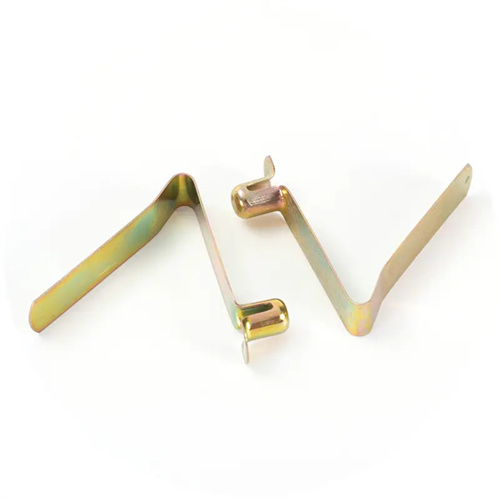
Force control in each process is key to the design. The blanking force, drawing force, punching force, and flanging force must be reasonably matched, and the total punching force must not exceed the rated tonnage of the press. The blank holder uses a nitrogen spring to provide the blanking force, which is 20%-30% of the drawing force. For a drawing force of 50kN, the blank holder force is set to 10-15kN to prevent wrinkling of the material during the drawing process. The force during flanging must be moderate. Too much force will cause cracking at the flanging edge, while too little will result in insufficient flanging. Generally, the flanging force is 15%-20% of the blanking force. At the same time, by adjusting the relative positions of the punches and dies, ensure that each process is completed sequentially during the stamping process to avoid mutual interference.
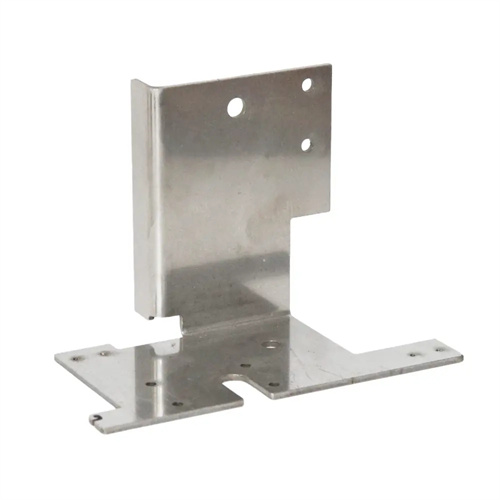
The guiding and positioning system ensures precise execution of each process. Ball guide pins and guide bushings are used for guidance. The guide pins have a diameter of 20-30mm and a clearance of 0.005-0.01mm, ensuring the synchronous movement of all mold components. The blank is positioned using a combination of a stop pin and a guide plate. The stop pin controls the longitudinal position of the blank, while the guide plate ensures smooth lateral feeding of the blank, with a positioning accuracy of ±0.05mm. A positioning step is provided after the deep drawing process to ensure accurate alignment of subsequent punching and flanging processes, reducing positioning errors. In addition, a ejector device is provided at the bottom of the mold to eject the part from the mold after the stamping is completed. The ejection force is 10%-15% of the total punching force.
Commissioning and maintenance must be carried out in stages. During mold trials, each process is debugged individually to ensure that the blanking dimensions, drawing height, punching position, and flanging angle meet the requirements before conducting continuous stamping tests. Measure key part dimensions, such as drawing height deviation, which must be less than 0.1mm, punching position error, which must be less than 0.05mm, and flanging angle deviation, which must be less than 1°. After every 1,000 pieces, inspect each cutting edge for wear. Grind the blanking edge if wear exceeds 0.05mm, and replace the punch if wear is evident. Regularly clean debris from the mold and lubricate the guide mechanism and moving parts to ensure smooth mold operation.
