Calculation of cutting edge dimensions of punch and die
Calculating the punch and die cutting edge dimensions is a core step in die design, directly determining the dimensional accuracy of the part and the lifespan of the die. This calculation must integrate the part’s tolerance requirements, material properties, and blanking clearance to establish a scientific dimensional relationship. This ensures smooth material separation between the punch and die during the stamping process while maintaining part dimensional stability. This calculation must strictly distinguish between the blanking and punching processes, as their dimensional benchmarks and wear patterns are distinct, requiring distinct calculation logic.
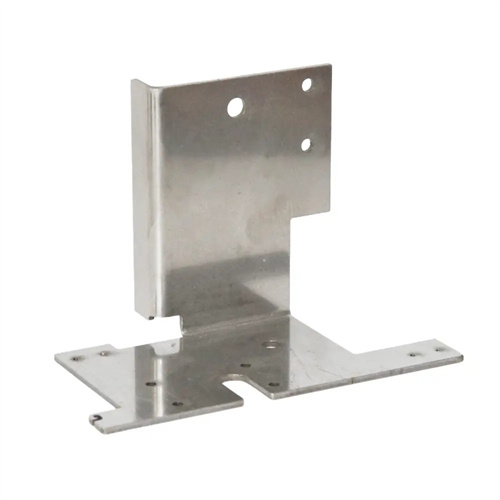
The cutting edge dimensions of the blanking process are calculated based on the die. This is because the part’s overall dimensions are directly determined by the die’s cutting edge, and the die’s dimensions tend to increase as it wears. When calculating this, the die’s basic dimensions should be the maximum limit of the part to ensure that, even with die wear, the actual part dimensions do not exceed the upper tolerance. The punch dimensions are calculated as the die dimensions minus the double-sided clearance. The tolerance is marked as a negative deviation, ranging from 1/3 to 1/5 of the part’s tolerance. For example, if the part dimensions are 80mm ± 0.2mm, the material thickness is 2mm, and the acceptable double-sided clearance is 0.24mm, the die dimensions are 80.2mm (+0.05mm) and the punch dimensions are 80.2mm – 0.24mm = 79.96mm (-0.03mm). This design ensures that the part dimensions remain within the specified range throughout the life of the die.
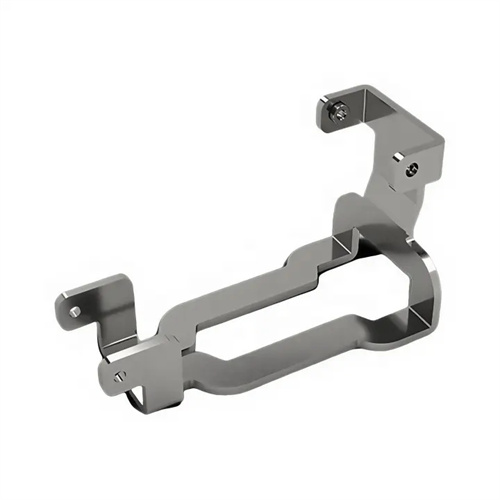
The punching process’s cutting edge dimensions are calculated based on the punch, as the inner diameter of the hole is controlled by the punch’s cutting edge, and its dimensions decrease as the punch wears. The punch’s basic dimensions should be the minimum limit of the part to ensure the hole size does not fall below the part’s lower tolerance. The die size is the punch size plus the double-sided clearance, with a tolerance specified as a positive deviation, also ranging from 1/3 to 1/5 of the part’s tolerance. For example, if the hole size is 20mm ± 0.1mm and the double-sided clearance is 0.12mm, the punch size is 19.9mm (-0.02mm), and the die size is 19.9mm + 0.12mm = 20.02mm (+0.03mm). This design ensures that even after the punch wears, the hole size still meets the part’s precision requirements while maintaining a reasonable clearance.
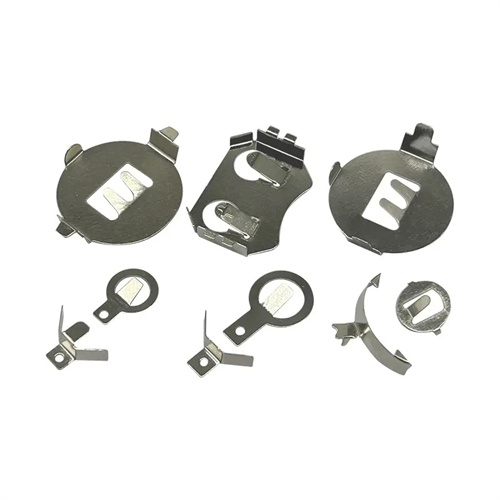
For complex blanking parts, the cutting edge dimensions are calculated using a “decomposition-recombination” method. This involves breaking the part contour into simple geometric elements, such as lines and arcs. The cutting edge dimensions of each element are calculated separately before being integrated. Straight segments of the outer contour are calculated based on the blanking datum, meaning the die assumes the maximum limit dimensions. Straight segments of the inner contour are calculated based on the punching datum, meaning the punch assumes the minimum limit dimensions. Arcs are distinguished between outer and inner arcs. The outer arc follows the blanking logic, while the inner arc follows the punching logic. For example, for a special-shaped part with a hole, the outer die assumes the maximum dimensions, while the inner punch assumes the minimum dimensions. Tolerances are proportionally distributed between these components to ensure overall dimensional harmony.
After the calculation is completed, the clearance verification is required to ensure that the minimum and maximum clearances between the punch and die are within a reasonable range. The verification formula is: when blanking, the difference between the maximum size of the die and the minimum size of the punch should be greater than or equal to the minimum clearance, and less than or equal to the maximum clearance; when punching, the difference between the maximum size of the die and the minimum size of the punch must meet the same requirements. If the clearance exceeds the reasonable range, the cutting edge size or tolerance distribution needs to be adjusted. If the part size is found to be out of tolerance during the trial mold stage, fine-tuning can be done by grinding the cutting edge: if the blanking part is too large, grind the die; if it is too small, grind the punch; if the punching is too large, grind the punch; if it is too small, grind the die. Through precise calculation and trial mold adjustment, the optimal balance between the dimensional accuracy of the blanked part and the life of the mold can be achieved.
