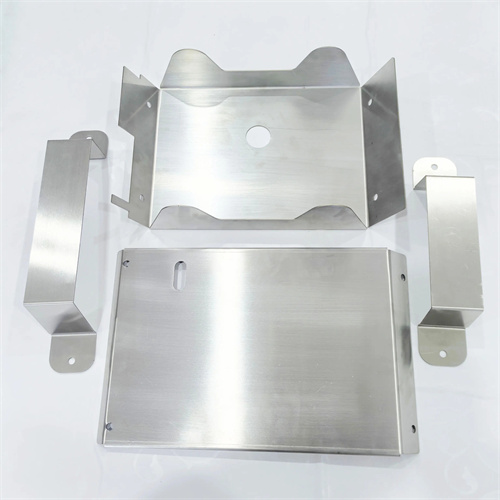
Technical requirements for die assembly
Die assembly technical requirements are the normative guidelines for ensuring die assembly quality. They cover multiple aspects, including assembly accuracy, connection strength, and kinematic performance, providing clear technical indicators for the assembly process. These requirements are based on the die’s operating characteristics and the quality requirements of the blanked parts. They are key to ensuring stable die operation and extending its service life. Whether it’s a simple die or a complex progressive die, these basic requirements must be met, while also implementing targeted controls based on the specific structure.
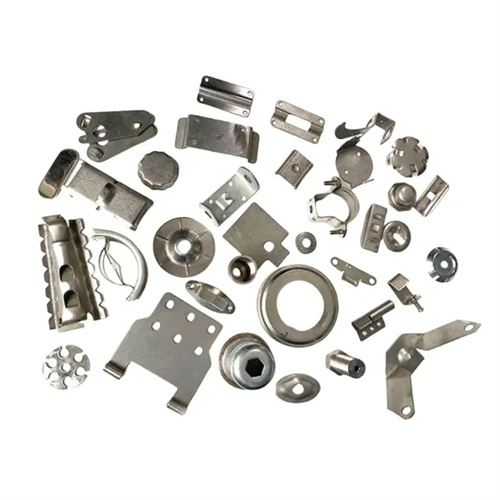
After assembly, the punch and die must maintain a uniform gap between the punch and die cutting edges. This is a core requirement for die assembly. For circular blanking parts, the gap unevenness should be ≤0.01mm; for special-shaped parts, the deviation of the gap at each point from the average gap should be ≤10%. Measurements should be made using a feeler gauge or optical instrument, with multiple inspections at the top, middle, and bottom of the cutting edge to ensure consistent gaps throughout the entire circumference. Uneven gaps can lead to larger burrs on the blanking part, increased edge wear, and even mold seizures. Therefore, strict control during assembly is required through shim adjustment, grinding, and other methods.
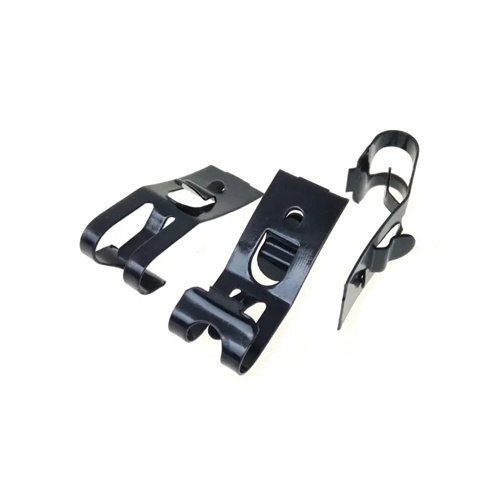
The assembly accuracy of the die frame directly impacts the guiding performance of the die. The clearance between the guide pin and guide sleeve must meet design specifications, typically H7/h6 or H6/h5. After installation, the perpendicularity error between the guide pin axis and the bottom surface of the lower die base should be ≤0.01mm/100mm, and the perpendicularity error between the guide sleeve axis and the top surface of the upper die base should also be ≤0.01mm/100mm. The upper die base should slide smoothly on the guide pin without binding, with uniform sliding resistance, and the difference between maximum and minimum resistance ≤30N. The die base parallelism requirement is: ≤0.02mm/300mm between the upper and lower die bases. Otherwise, uneven force will be applied during stamping, affecting the flatness of the blanked part.
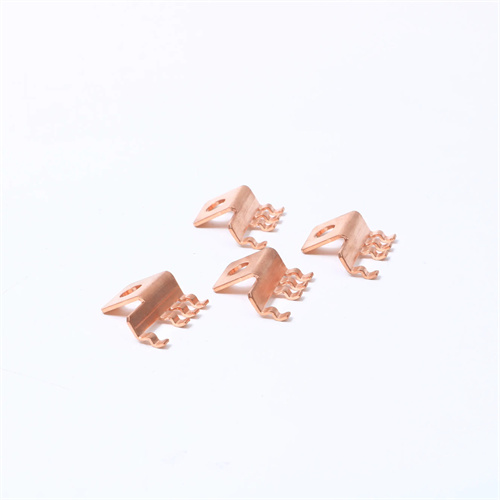
The connection strength of mold components must meet the stamping load requirements. The tightening torque for screw connections must meet specifications: 30-40 N · m for M8 screws and 50-60 N · m for M10 screws , ensuring a secure connection. The fit between the pin and the pinhole is H7/m6 . After press-fitting, the pin end face should be flush with the part surface, with a tolerance of 0.05mm above or below , but not affecting part movement. The punch and retaining plate should adopt a transition fit of H7/m6 or H7/n6 . After press-fitting, the perpendicularity error between the punch working end face and the retaining plate should be ≤ 0.01mm/100mm to prevent bending and deformation of the punch during stamping.
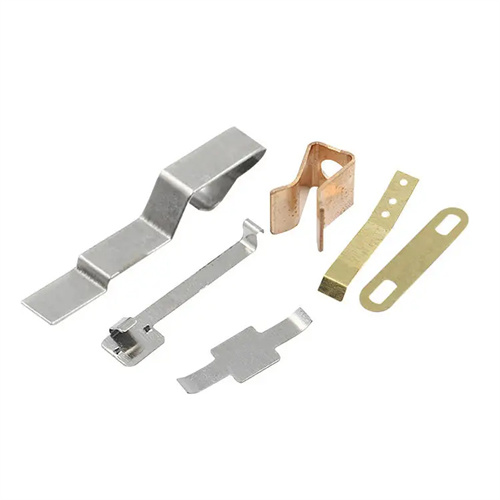
The unloading and ejector mechanisms must possess flexible and reliable motion. The spring compression of the elastic unloading mechanism should be uniform, with the difference in compression between the springs ≤1mm, ensuring even distribution of the unloading force. The unloading plate’s stroke must meet design requirements, generally 1.5-2 times the material thickness, and remain parallel to the die’s upper surface throughout its stroke, with a parallelism error of ≤0.02mm/100mm. The ejector’s ejection stroke should be 1-2mm greater than the die depth. The ejector plate should move smoothly without binding. The ejection force can be infinitely controlled by adjusting the spring or air pressure to meet the requirements of ejecting materials of varying thicknesses.
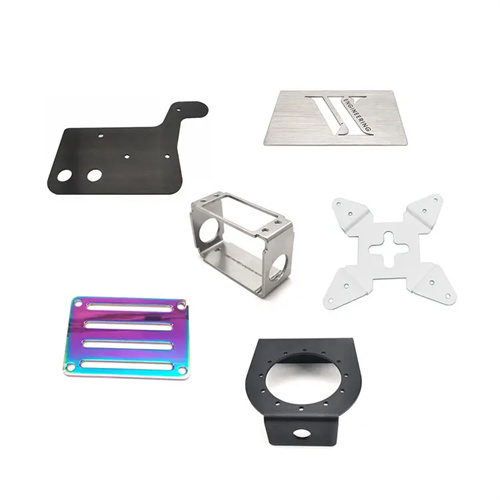
The appearance and safety performance of the die after assembly must also meet the requirements. The exposed surface of the die must be rust-proofed, with a surface roughness of ≤Ra3.2μm and no obvious scratches or burrs. The die’s lifting device (such as eyebolts) must be securely installed, and its load-bearing capacity should be ≥1.5 times the weight of the die to prevent it from falling off during lifting. Dies used in automated production lines must be equipped with a safety interlock device to ensure that the press cannot be started when the die is open to avoid industrial accidents. In addition, the die must reserve necessary adjustment space, such as an adjustment amount of ≥5mm for the limit screw, to facilitate subsequent maintenance and parameter optimization. By strictly implementing these technical requirements, the die can be ensured to have good working performance and safety and reliability.
